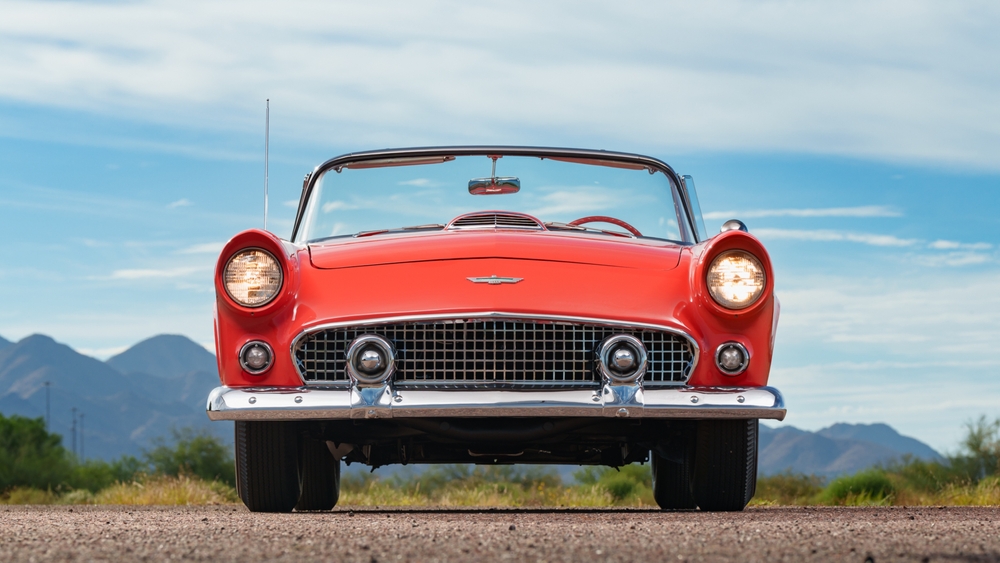
Vintage cars possess a timeless allure that captivates car enthusiasts around the world. The sleek curves, roaring engines, and nostalgic charm make these classic automobiles a symbol of automotive history. However, as the world shifts towards sustainable solutions, many vintage car owners are exploring the possibility of transforming their beloved classics into electric beauties. In this article, we will guide you through the process of converting your vintage car into an electric vehicle while preserving its timeless appeal.
Assessing Feasibility and Planning Ahead
Before embarking on the electrification journey, it is crucial to assess the feasibility of converting your vintage car to electric. Consider factors such as the availability of suitable electric conversion kits, the condition of the car’s body and chassis, and any legal requirements or restrictions in your region. Once you’ve determined that an electric conversion is viable, it’s time to plan ahead.
Research and Select the Right Conversion Kit
Choosing the appropriate electric conversion kit is vital for a successful transformation. Conduct thorough research to find a kit that aligns with your vintage car’s specifications and requirements. Look for reputable suppliers who offer kits specifically designed for classic car models. Consider factors such as battery capacity, motor power, range, and compatibility with your vintage car’s structure.
Prepare for the Conversion Process
Converting a vintage car to electric requires careful preparation. Start by documenting the car’s original components, wiring diagrams, and mechanical systems. This will serve as a valuable reference throughout the conversion process. Additionally, make a detailed checklist of the tasks involved, ensuring you have the necessary tools and equipment readily available.
The Electric Conversion Process
Stripping and Evaluating the Vehicle
To begin the conversion, strip the vintage car down to its bare essentials. Remove the engine, fuel system, exhaust, and any other components that are no longer necessary. Evaluate the chassis and body for structural integrity and make any necessary repairs or reinforcements. This step sets the foundation for a successful electric conversion.
Installing the Electric Powertrain
The heart of the electric conversion lies in installing the electric powertrain. This includes the electric motor, battery pack, and associated control systems. Carefully follow the manufacturer’s instructions provided with your chosen conversion kit. Ensure proper alignment of the motor, drivetrain, and battery pack, considering weight distribution and balance to maintain the vintage car’s handling characteristics.
Rewiring and Integration
With the electric powertrain in place, the rewiring and integration phase begins. Replace the original wiring system with an electric-compatible harness, ensuring all components are properly connected and functioning. Integrate the electric control systems, such as the motor controller, regenerative braking, and instrumentation, into the vintage car’s dashboard and cabin.
Safety and Testing
Prioritize safety during the conversion process. Install appropriate safety features, including circuit breakers, fuses, and emergency shut-off switches. Thoroughly test all electrical connections, ensuring proper insulation and grounding. Conduct comprehensive functionality tests, including motor performance, battery charging, and system diagnostics, before taking your transformed vintage car out for a spin.
Embracing the Future in Style
Congratulations! You have successfully transformed your vintage car into an electric beauty. By combining the charm of the past with the sustainability of the future, your electric classic car represents a unique blend of style and eco-consciousness. Embrace the joy of driving your electric masterpiece, knowing that you have made a significant contribution to a greener and cleaner world.
So, get ready to turn heads as you silently glide down the streets, proving that even classics can evolve and adapt to the changing times.
